How to Be a Great Epoxy Floor Contractor
What does it take to be a professional epoxy flooring contractor? There’s a common misconception that installing epoxy flooring is
What does it take to be a professional epoxy flooring contractor? There’s a common misconception that installing epoxy flooring is
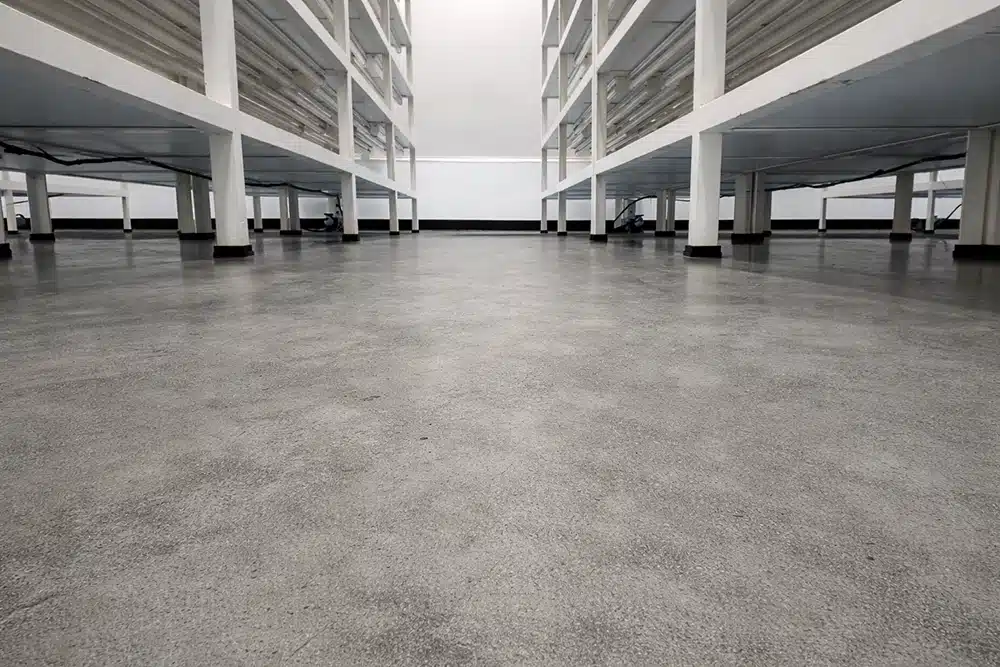
Why concrete surface prep is the most important step of laying epoxy resin If you’re preparing a concrete floor for

What’s a realistic timeline for learning epoxy flooring? Most people can learn the basics of epoxy flooring in a few